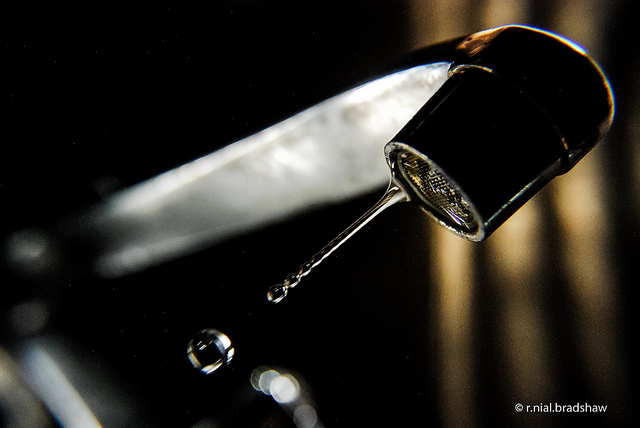
You can have that refreshing water at home by easily installing a water filter right under your sink. This simple DIY tutorial of sorts will explain just how easy it is to install the water filter system thanks to the folks over at Lifehacker.com.
Make sure you purchase a water filter system that has its own separate faucet for just the filtered water. You will only need a Philips head screwdriver, a drill, bits and hole saw bits, protective eyeglasses, and an adjustable wrench.
First you need to determine which side of the sink you would like the filtered water faucet to be on. Then, drill a 1 ¼-inch hole where you would like the filtered water facet to go. Once the hole is drilled, feed the water facet line hose down the hole, and secure the facet to the sink with the nut that came with it. Next, attach the facet hose to the water filter, where is says clean water out.
Now you need to get the hoses all attached so the water can go to the sink or filter facet. Begin by turning off the water knob under the sink. Then run the water in the sink to drain any water left in the water line. Use the wrench to remove the water line right above the on off knob. Screw the splitter fitting onto the water hose, and attach it all back together so the water will flow freely to the sink facet or the water filter facet. Attach the hose from the splitter to the water filter where it says tap water in.
Lastly, the water filter needs to be mounted under the sink with the screws it came with. Use the screwdriver to attach the screws where you would like the water filter to sit and then the filter will slide onto the screws. Now turn on the water flow back on, and run the filter facet for a couple minutes before drinking.
Make sure to check out the link below for the complete guide and photos:
Read MorePhoto by: r. nial bradshaw | Flickr


